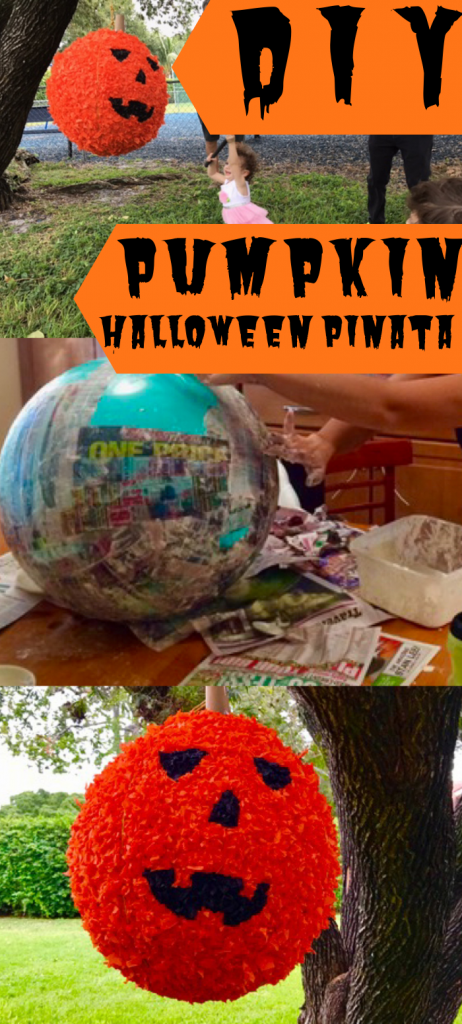
Do you want to make a DIY Halloween Pumpkin Pinata for Halloween? Here are step by step instructions that anyone can do, even the kiddos! You don’t have to be an art teacher to make papier mache. It’s so much fun!

This is a guest post written by Holly Hirshberg, wife and mommy to two beautiful babes, Maya and Mason. She is a stay at home mom who loves DIY projects, including this fabulous piñata.

My kids’ birthday was quickly approaching and I was stressing over what kind of super amazing party I wanted to throw them.
It always has to be super amazing.
After many battles within my own mind, I decided to throw them a “simple” party at the park in my neighborhood. After all, it would be easier and cheaper, (wink-wink).
And so it begins…
“Are you going to have a piñata!?!” my husband asks, as if I could just whip it up in five minutes. Little did he know, it would take four days to prepare, lol.
A piñata; hmmm, that’d definitely be fun for preschoolers! And a Halloween Pumpkin Pinata!
After checking out the local party store I decided to go on an adventure with a DIY Halloween Pumpkin piñata.s
If you are looking for Halloween pinata ideas, this could be a lot of fun. Its great for a Halloween bash too and a great addition to your Halloween Décor.
What You’ll Need for this Fun Pinata:
- Punching Balloon
- strips of newspaper
- Flour
- Salt
- Elmers Glue
- Crepe Paper
- Toilet Paper Roll
- PVC Piping
- Candy
Directions for your Very own Halloween Pinata:
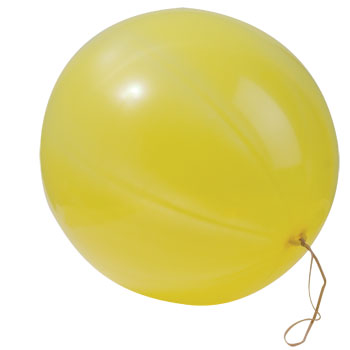
- I started with a big punching balloon. You know, the type you had as a kid, that comes with a big rubber band that you tie on the end to literally punch the big balloon back and forth with. You can find them at Dollar Tree.
- Next, I cut newspaper into long strips, about 1-2 inches wide, by 6-8 inches long. I used the entire edition of the Sunday paper.
- Then, in a big bowl, I mixed about 2 cups of water with 2 cups of flour and a tablespoon of salt. I stirred it until blended making a flour paste. There will be little clumps of flour which is fine.
- Cover the long strip of newspaper with the flour mixture, wiping the excess off between your fingers or sweep the excess off with the edge of the bowl. Apply the paper in a criss-crossed fashion covering the entire balloon.
- Be sure to leave the area around the knot clear, as you will be placing the candy thru this opening. You will want to cover the balloon 3-4 times.
- Each layer MUST be dry, before applying the next layer of Papier-mâché. I let a day lapse between each application.
- Don’t forget the scary pumpkin face.
On the fourth day, I painted the entire balloon. Once dried, I then applied crepe paper in strips, much like the papier-mâché.

I used Elmer’s school glue on the ends and made a line of glue up the middle. I then cut the orange crepe paper and black crepe paper into 2×2 inch squares, zillions of them. You can also get them pre cut.

With help from my kiddos and hubby, we crumpled all the little squares up and I glued them (with a dab of glue on each) one by one onto the piñata. This took a tremendous amount of time, but the outcome was what I had hoped for and well worth it.
I then cut the knot of the balloon (the balloon was already deflated) and filled the piñata with candy.
I used a toilet paper roll to plug the hole and wrapped a paper bag around it.
And voila, you have a piñata!
For the piñata stick, I covered a thin piece of pvc piping with crepe paper. It worked great with this fun pinata!

Needless to say, the Halloween piñata was a huge hit!
No pun intended 😉
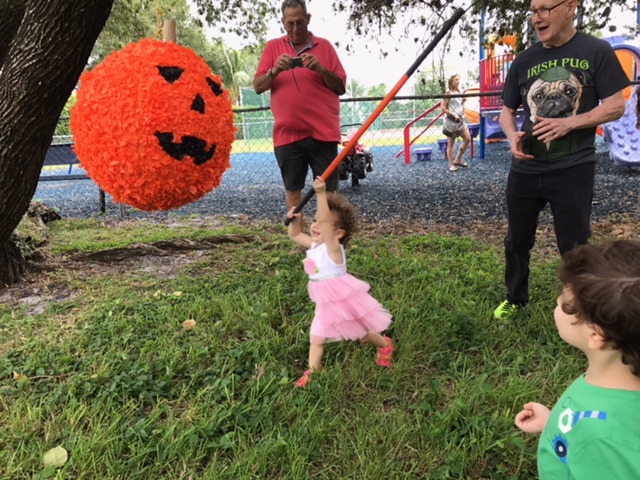
Of course the best part was watching all the kids scramble for candy!
* If you have extra candy from trick or treating, you can also use it for the pinata.

So there you go. You’ve made your own Halloween Pinata!
Check out this Ring Pop Pinata
Check out More Halloween Fun Below!